Gel polish is a go-to choice for a manicure that blends the toughness of gel with the vibrant look of classic nail polish. But getting that long-lasting, salon-quality finish isn’t just about picking the right shade—it’s about nailing the technique for applying gel polish. One wrong move can lead to chips, uneven patches, or even damage to your nails.
This guide walks you through every step, from prepping your nails to adding the final topcoat. You’ll pick up tips to sidestep common mistakes, ensure a smooth application, and keep your manicure looking fresh for weeks. Let’s get started on mastering how to apply gel polish like a seasoned pro.
Learning gel polish at home? Grab our Beauty Club step-by-step guide with tools, prep, exact application order, typical timing, and fixes for common mistakes. You’ll find a PDF download at the end of this article to keep beside your lamp for easy reference.
Nail Preparation: The Key to a Lasting Manicure
Nail prep is where the magic begins—it’s easily 90% of what makes a manicure last three weeks or more. Skimp here, and even the fanciest gel polish will start peeling in no time. Knowing how to apply gel polish starts with getting your nails in top shape for the base and top coats.
Deep Cleaning the Nail Plate
Before you even think about base and top coats, your nails need to be squeaky clean. Here are three solid ways to remove old polish:
- Gel Polish Removers. These are special liquids designed to break down gel polish fast. Dab some on a cotton pad, press it onto the nail, wrap it in foil, and let it sit for 10–15 minutes.
- Hardware Method. Grab a nail drill with a gentle abrasive bit to carefully remove the coating. Go slow to avoid overheating or damaging the natural nail.
- Combined Approach. Start by lightly buffing the top layer with a file, then follow up with a remover to speed things up.
Once the old polish is gone, use a soft buffer to smooth out any leftover residue or tiny imperfections on the nail surface.
Degreasing
Skipping this step is a rookie mistake, and it’s why some manicures don’t last. Even the tiniest bit of oil or moisture can mess with adhesion. Here’s what works for degreasing:
- Dehydrator. This does double duty, removing oil and drying the nail for better grip.
- 90% Medical Alcohol. A wallet-friendly option that gets the job done.
- Acetone-Free Cleanser. Gentle on the skin around your nails while still cleaning effectively.
Pro tip: After degreasing, don’t touch your nails with your fingers—it’ll undo all your hard work.
Handling Cuticles and Shaping
You’ve got two paths for dealing with cuticles:
- Classic Manicure. Trim the cuticle carefully with nippers. It takes practice but gives you a crisp, clean edge.
- European Manicure. Soften the cuticle with a remover and push it back with an orange stick. It’s safer but won’t last as long.
For shaping, use a 180–240 grit nail file and move in one direction to avoid splitting the nail.
Final Touch: Light Buffing
Some people shy away from buffing, but it’s a game-changer for the standout durability of the coating. A few gentle swipes with a soft buffer create just enough texture for the polish to cling to.
After prepping, sweep away dust with a clean brush and degrease one last time. Your nails are now primed for the base and top application, which we’ll dive into next.
Base, Color, Top: Crafting a Flawless Finish
With your nails prepped to perfection, it’s time to focus on how to apply gel polish layer by layer for a manicure that’s both durable and gorgeous. This is where mistakes can sneak in, so let’s break down the technique for applying gel polish to get it right.
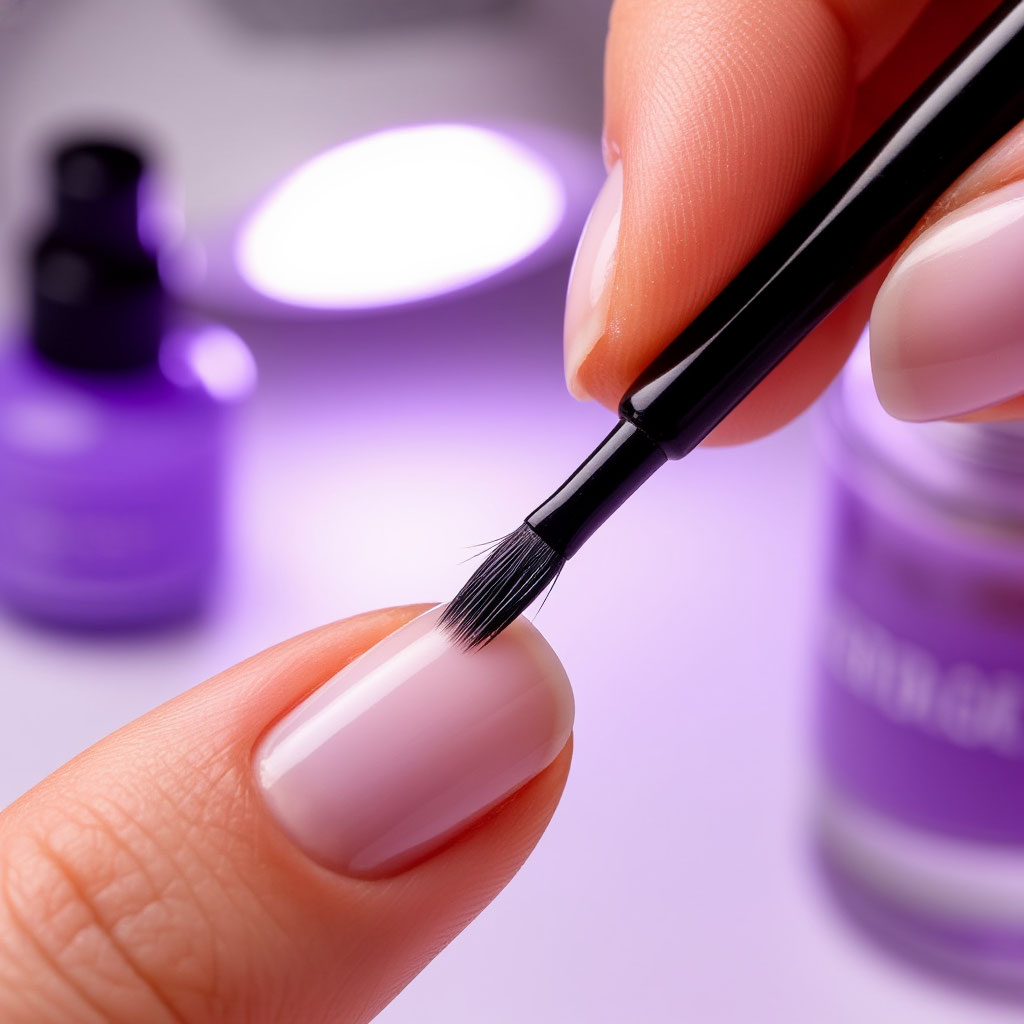
Mastering the Base: The Foundation of Longevity
The base isn’t just a stepping stone—it’s what holds your manicure together. Done right, it creates a smooth canvas for color and boosts the standout durability of the coating.
Here’s how to nail the base application as part of learning how to apply gel polish:
- Scoop a small amount of base onto one side of the brush to keep things tidy.
- Start in the middle of the nail, just shy of the cuticle.
- Spread the base gently toward the free edge.
- Use the brush tip to coat the sides.
- “Seal” the nail tip by brushing over the edge.
Pay extra attention near the cuticle, leaving a 0.5–1 mm gap to avoid skin contact, which can cause peeling. If you’re new to this, go for a thinner base formula—it’s easier to spread evenly.
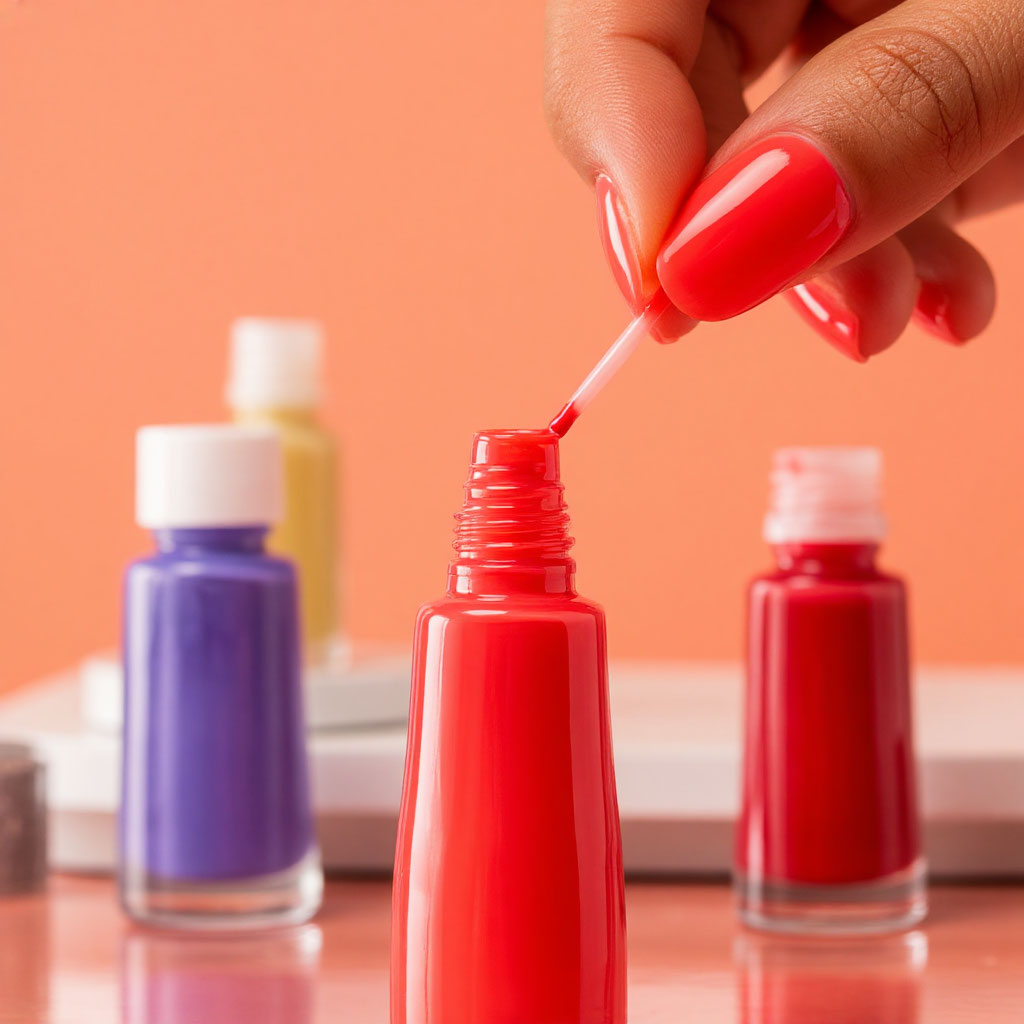
Color Application: Tips for a Professional Look
Applying the color coat is where the artistry of the technique for applying gel polish shines. Here’s how to do it:
First Layer:
- Go for a super-thin, almost sheer layer.
- Work quickly, avoiding back-and-forth strokes.
- Focus on the cuticle area for a clean edge.
- Cure it fully in the lamp, following the recommended time.
Second Layer:
- Apply a thicker layer for bold, even color.
- Use smooth, confident strokes.
- Watch for pooling near the sidewalls.
- Some shades might need a third layer for full opacity.
Pro tips to level up your technique for applying gel polish:
- For dark colors, lay down an opaque base as a primer.
- For pastels, try “wet application,” adding the next layer before the previous one cures.
- Tackle tricky spots like the nail edge separately.
After each layer, wipe off any sticky residue (if there is any) and check the coverage from different angles. Any flaws will stand out once the topcoat goes on.
Topcoat: Locking in Durability and Shine
The topcoat shields your color from chips and scratches. Apply it like the base: thin, precise, and with a sealed free edge. Some topcoats leave a sticky layer after curing—wipe it off with a cleanser. Want a matte finish? Use a matte topcoat, but keep in mind they need a bit more TLC to stay pristine.
Curing in the Lamp: Patience Pays Off
Every layer needs proper curing in the lamp to ensure the standout durability of the coating. Skimp on this, and your base or color layers won’t hold up, leading to early wear. LED lamps are quicker, while UV lamps take a bit longer. Finish with a dab of cuticle oil for that polished, salon-fresh vibe.
Curing Time: Getting Polymerization Right
Curing in the lamp is a make-or-break step in how to apply gel polish—it’s what locks in the standout durability of the coating. Rush this, and even a perfectly applied manicure can fall apart.
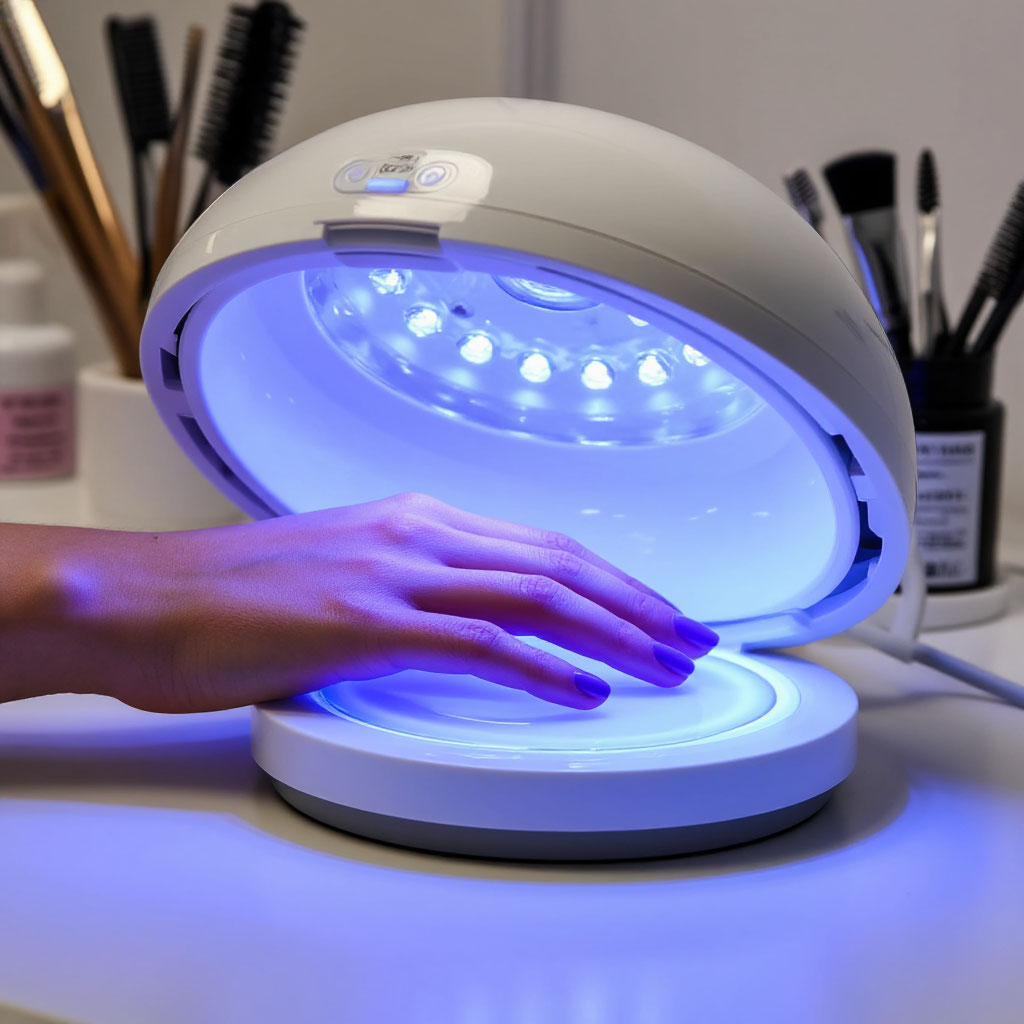
Choosing Your Lamp: LED or UV?
You’ve got two main options for curing:
- LED Lamps. These cure in 30–60 seconds and save on energy.
- UV Lamps. They take 2–3 minutes but work with all types of gel polish.
Pros swear by lamps with at least 36W of power—anything less might not fully cure the layers. Check for even light coverage, as cheap lamps can have “dead zones” that mess up the results.
Timing for Each Layer
The technique for applying gel polish includes specific curing times:
- Base: Needs a full curing cycle, even if it looks set.
- First Color Layer: Stick to the standard curing time.
- Second Color Layer: Might need an extra 15–20% time, especially for thick or dark shades.
- Topcoat: Cure for the full cycle, plus an extra 10–15 seconds.
Darker or denser colors take longer to cure. If the surface feels sticky post-cure, that’s a sign it’s not fully set.
Common Curing Mistakes
Here’s what trips up beginners:
- Yanking hands out of the lamp too early.
- Poor finger positioning, leaving shadowed spots.
- Using old or low-quality lamps.
- Skipping pauses between layers in multi-layer manicures.
Pros recommend checking your lamp’s performance with a tester now and then. Also, keep in mind that cold room temperatures can slow down curing, so adjust if needed.
Durability and Care: Keeping Your Manicure Fresh
Once you’ve got the technique for applying gel polish down, the next goal is keeping it looking great for as long as possible. With the right care, you can stretch the standout durability of the coating to 3–4 weeks.
What Makes a Manicure Last?
The standout durability of the coating hinges on a few things. Quality materials from reputable brands are a must—your base and top should play nicely with the color polish and suit your nail type. Thorough prep, like degreasing and buffing, sets up a strong foundation. Proper curing in the lamp is another critical piece of the puzzle.
Your body’s quirks matter too—nail growth speed, hormones, or even seasonal changes can affect wear time. External factors like harsh chemicals or temperature shifts can also shorten a manicure’s life.
Daily Care Tips
To keep your manicure looking pristine, build these habits:
- Wear rubber gloves for cleaning or dishwashing to shield against chemicals.
- Don’t use your nails as tools to avoid chips or cracks.
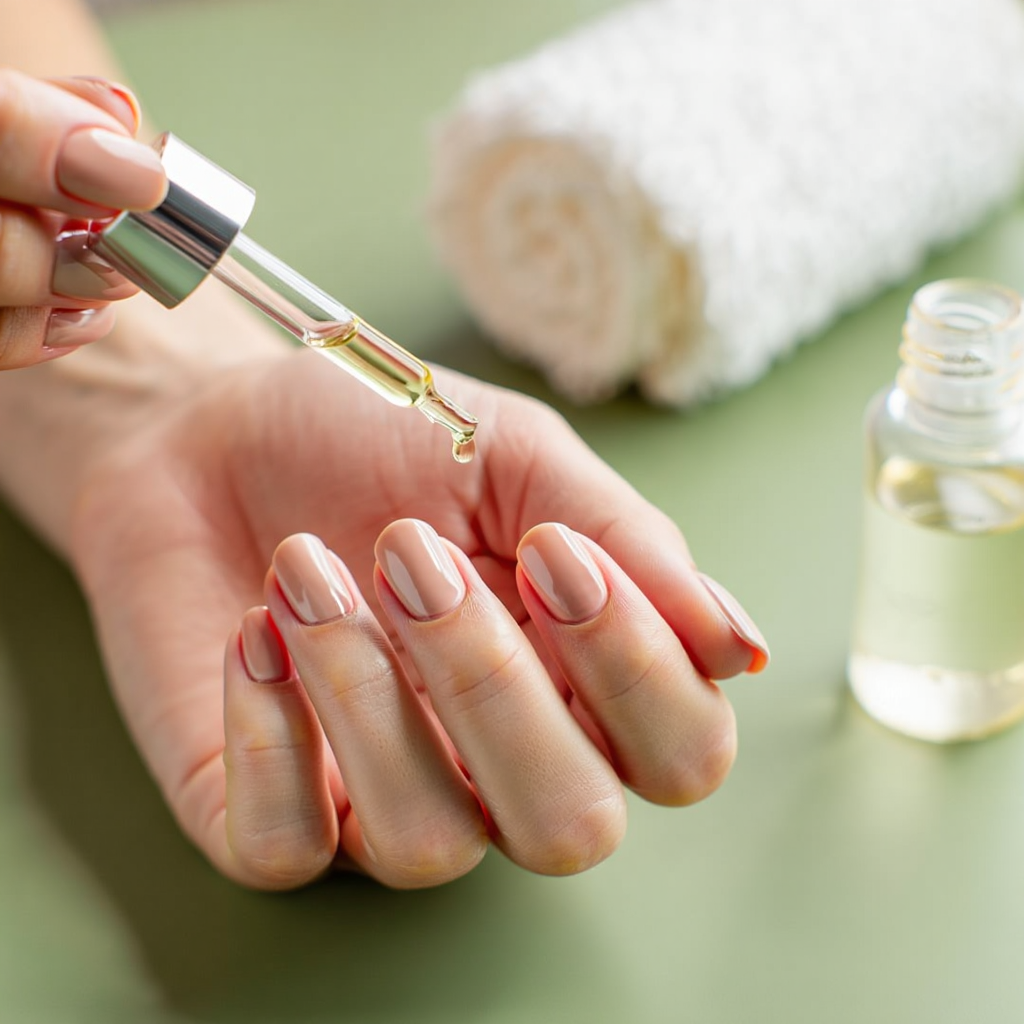
- Apply cuticle oil daily to nourish the skin and support the natural nail.
- Use vitamin-infused protective coatings to guard against damage.
Be mindful of water exposure—long soaks in hot or chlorinated water can cause lifting. If you spot early damage, act fast to prevent it from spreading.
Emergency Fixes for Damage
If you get a chip or peel, you can save your manicure until you can visit a salon. Degrease the spot, apply a thin layer of base, touch up the color sparingly, and seal with a topcoat. Cure it fully in the lamp. A small repair kit with the essentials is handy for quick fixes.
| Care Step | Action | Frequency | Purpose |
|---|---|---|---|
| Wear Gloves | Use rubber gloves during cleaning or dishwashing | Every time you use chemicals | Protects from harsh substances that weaken the coating |
| Apply Cuticle Oil | Use nourishing oil on cuticles and surrounding skin | Daily | Hydrates and strengthens the nail plate |
| Avoid Mechanical Stress | Don’t use nails to pry or scrape | Ongoing | Prevents chips and peeling |
| Monitor Water Exposure | Limit prolonged soaking in hot or chlorinated water | As needed | Reduces risk of lifting or peeling |
| Emergency Repairs | Degrease, apply base, color, and top; cure fully | As needed | Extends manicure life until professional correction |
Common Mistakes in Application: How to Steer Clear
Even if you know how to apply gel polish, little slip-ups can derail your efforts. Here are the most common mistakes that can turn a great manicure into a letdown and how to avoid them when learning how to apply gel polish.
Sloppy Nail Preparation
Cutting corners on prep is the fastest way to a short-lived manicure. Leftover polish, untrimmed cuticles, or skipped degreasing will cause peeling within days.
Mishandling Materials
Uneven application of base and top or color layers is a frequent issue. Too much base creates lumps, while sloppy color application leads to bumps. Forgetting to seal the free edge invites chips. Mixing incompatible brands can also cause problems.
Curing Mishaps
Rushing the curing in the lamp is a classic error. Under-cured layers—especially with dark or thick polishes—won’t hold up. Skipping curing between layers also weakens the standout durability of the coating.
Perfecting the technique for applying gel polish takes time and care. Every step, from prep to curing, counts. Using quality base and top, sticking to proper curing times, and applying with precision will give you a manicure that lasts. Embrace the learning curve—each attempt hones your skills, making your manicures more durable and stunning.
Ready for a neat, long-lasting mani? This compact guide covers tools & prep, precise layer sequence, timing, and safe removal—plus quick fixes for typical issues.
Download the PDF: Beauty Club — Gel Polish: Step-by-Step