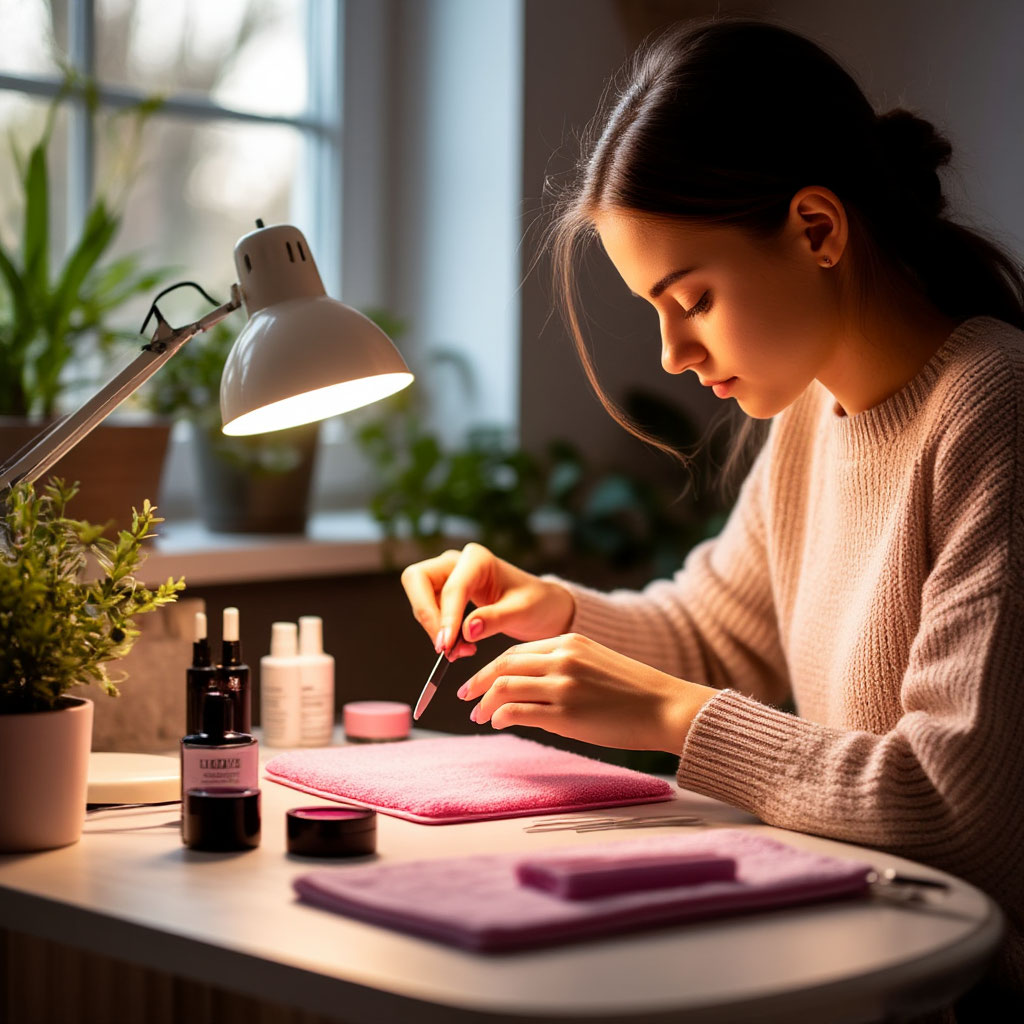
Dreaming of salon-level nails without leaving your apartment? Welcome to the world of home care, where you’re the expert! No more scheduling appointments or overspending on basic treatments. With this step-by-step guide, you’ll learn how to master the manicure at home that lasts longer than your Monday mood.
Forget the doubts — even if your polish used to look messy or your cuticles “fought back,” this time it’ll work. We’ll break down each stage: from prep to final touches — no complicated jargon or unnecessary tools. Get your favorite shades ready, play a podcast or series in the background… and let’s go nail perfection.
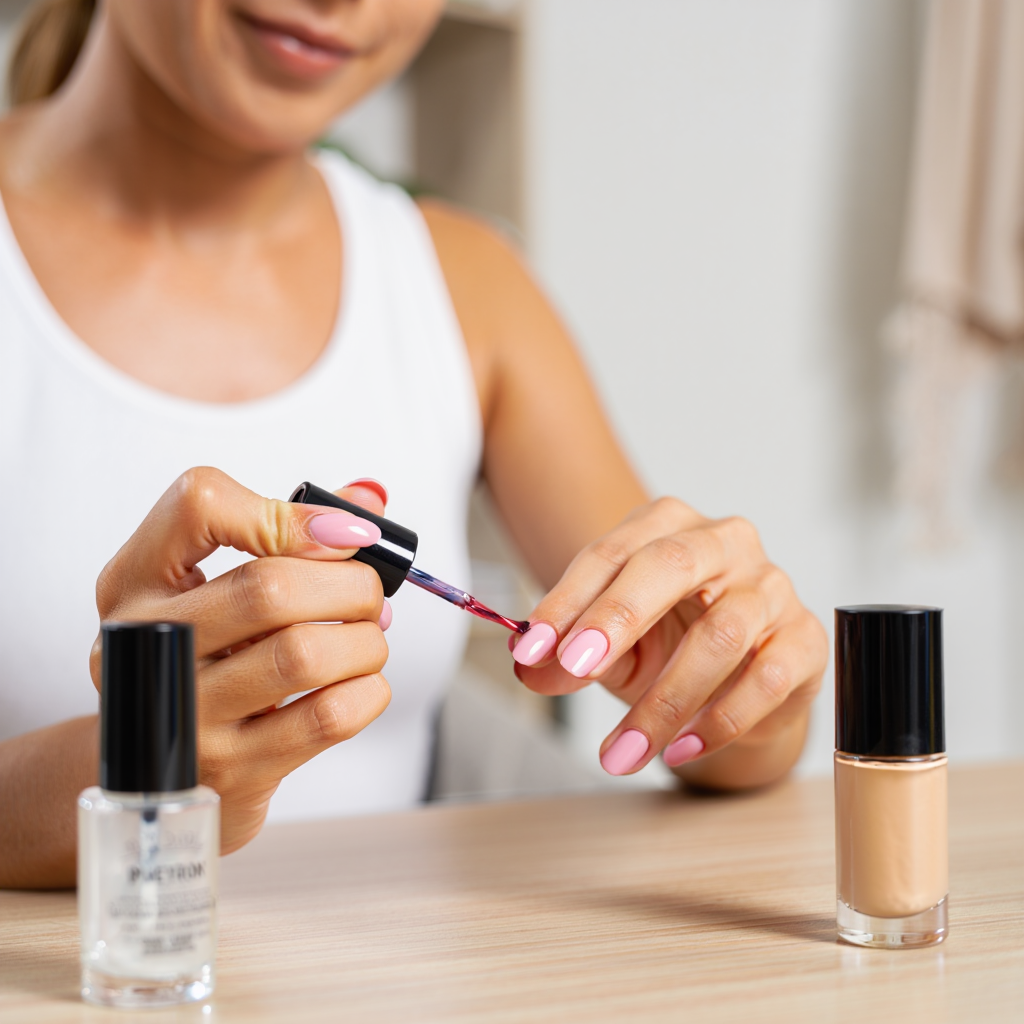
DIY manicure done right: we prepared a Beauty Club mini-brochure with the tools, a shape finder, safe cuticle care, and a clean polish flow that lasts. You’ll find a PDF download at the end of this article to save and print.
What You Need for a Manicure: Essential Tools for Home Care
A good manicure at home starts with the right tools and products. You don’t need to spend a fortune to get a clean, professional result — just gather a few tried-and-true items and follow the step-by-step instructions.
Tools: Minimal Set, Maximum Effect
Let’s begin with the basics. Here’s what you’ll need:
| Tool | Purpose |
|---|---|
| Medium-grit file (glass or ceramic) | Shapes the nail and avoids damage |
| Nail clippers or nippers | Adjusts nail length |
| Orange stick or cuticle pusher | Gently pushes back cuticles |
| Buffing block | Smooths out edges and surface |
| Antiseptic spray | Ensures proper hygiene before and after each step |
It’s essential to maintain hygiene: disinfect metal tools, and replace nail files regularly. Clean tools = healthy nails.
Care Products
A great manicure at home goes beyond trimming. You’ll need:
- A bowl of warm water or a cuticle softener;
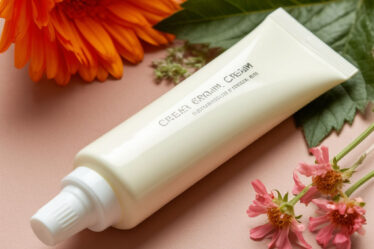
- Nourishing hand cream or oil;
- Nail polish remover (preferably acetone-free);
- Nail cleanser or alcohol for prep.
Moisturizing the skin around your nails prevents dryness and hangnails. And don’t skip the coating prep — a nail cleanser removes oils and helps the polish adhere better.
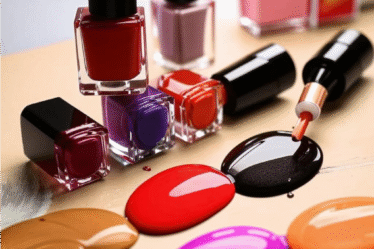
Materials for a Long-Lasting Coating
Without a base coat and top coat, your polish won’t last. A base protects your nail from stains and evens the surface, while a top coat seals the color and adds shine. Apply polish in two thin layers — that’s the golden rule of home care.
If you’re up for experiments, add gel polish and a LED lamp to your collection. But if you’re new to the manicure at home game, regular products will do just fine.
Pro tip: don’t skimp on quality. Cheap brushes leave streaks, and bad tools can damage your nails. A small but reliable kit will save you a lot of frustration.
Preparing Your Nails: The Foundation of a Flawless Manicure at Home
Before you jump into your favorite color, you need to prepare the nail surface properly. Skipping this part is one of the main reasons why polish chips quickly or goes on unevenly. The secret to a long-lasting manicure at home lies in thorough prep.
Removing Old Coating: A Clean Canvas for Creativity
Start by removing any old polish. Use a non-acetone remover — it’s gentler and won’t dry out your nails. Press a cotton pad soaked in remover firmly onto the nail for a few seconds so it can dissolve the pigment. If you’re dealing with stubborn gel polish, use foil wraps or a special gel remover for a more gentle approach.
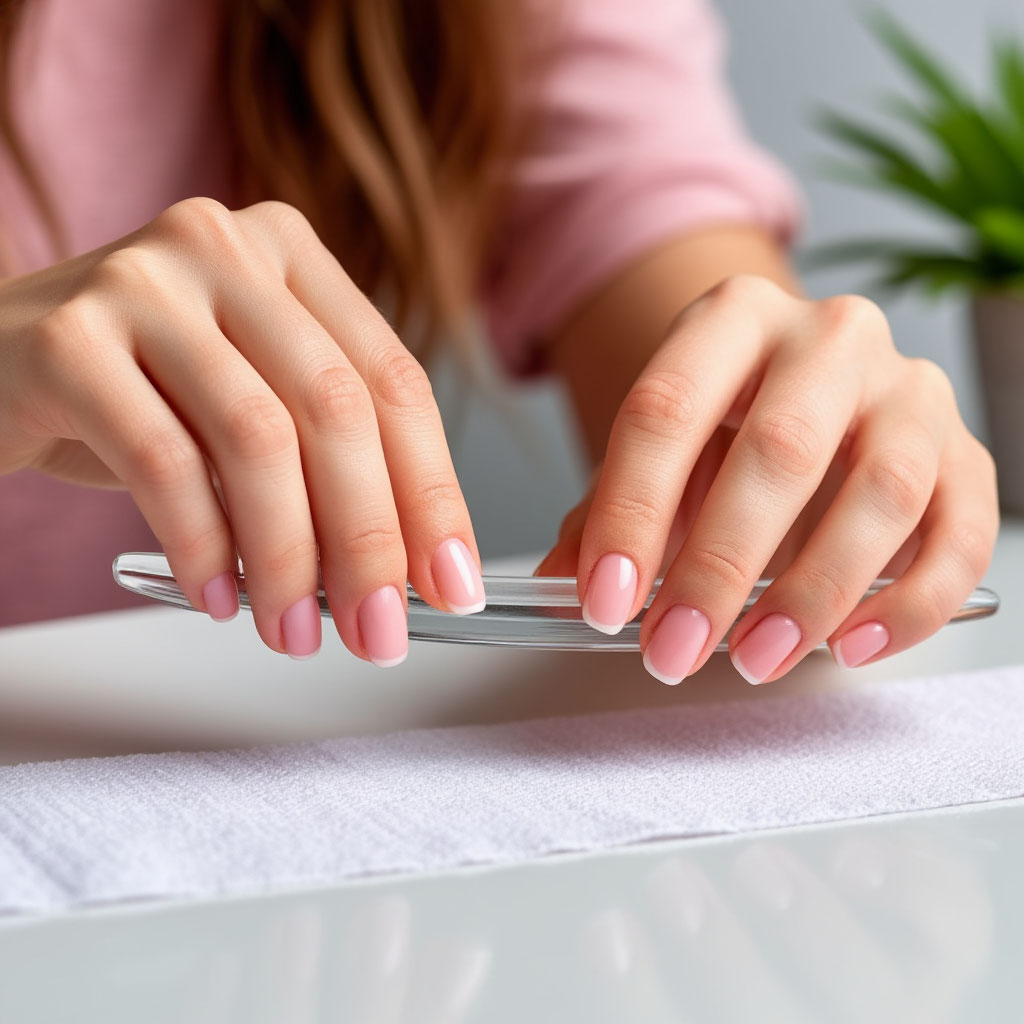
Shaping the Nails: Step-by-Step Instructions for a Perfect Manicure at Home
Beautiful nail shape is key to an even manicure at home. Many people rush through this step and then wonder why the polish looks off. Let’s go through it step by step to avoid common mistakes.
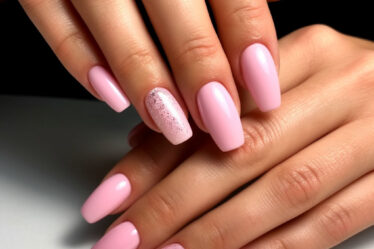
Step 1: Choose the Shape That Suits You
Before grabbing your nail file, decide on the shape. Short nails look best with a soft oval or rounded square. If your nails are longer, you can experiment with almond or stiletto shapes. Always consider the natural shape of your nail bed.
Step 2: Prepare Your Tools
Here’s what you’ll need:
- Medium-grit nail file (180–240 grit)
- Soft buffing file
- Antiseptic to clean your tools
Avoid metal files — they can damage the nail plate.
Step 3: Filing Technique
File according to the shape you’ve chosen:
- For square nails: file straight across, then gently round the corners.
- For oval: file at a 45° angle from the sides to the center.
- For almond: start with a point and then round the tip slightly.
Stick to 5–7 strokes per nail to avoid overheating the nail surface.
Step 4: Finishing Polish
Once you’ve filed the shape:
- Smooth the nail edge
- Lightly buff the surface
- Brush away any dust
This ensures an even surface for the coating to adhere properly.
Step 5: Check for Symmetry
Double-check your work:
- Press fingertips together and compare length
- Look at your nails from different angles
- Use your fingertip pad to gauge consistency
Fix any small inconsistencies now — but don’t over-file, as this can weaken your nails.
Degreasing: The Key to Long-Lasting Results
Even if your nails seem clean, there’s always invisible oil and moisture on the surface. A nail cleanser or alcohol-based solution will remove these traces and help the base coat stick. Avoid touching your nails after this step — even your fingertips can leave oils behind.
Hygiene matters just as much during prep as it does during application. Always wipe your tools with antiseptic and wash your hands thoroughly before you begin. Ignoring these steps can lead to poor adhesion and irritated cuticles.
Cuticle Care: A Pro-Level Approach at Home
The cuticle is that small detail that turns a basic manicure at home into something truly salon-worthy. Many people are intimidated by this part, but with the right method, it’s simple and safe. The key is to follow each step carefully and maintain proper hygiene.
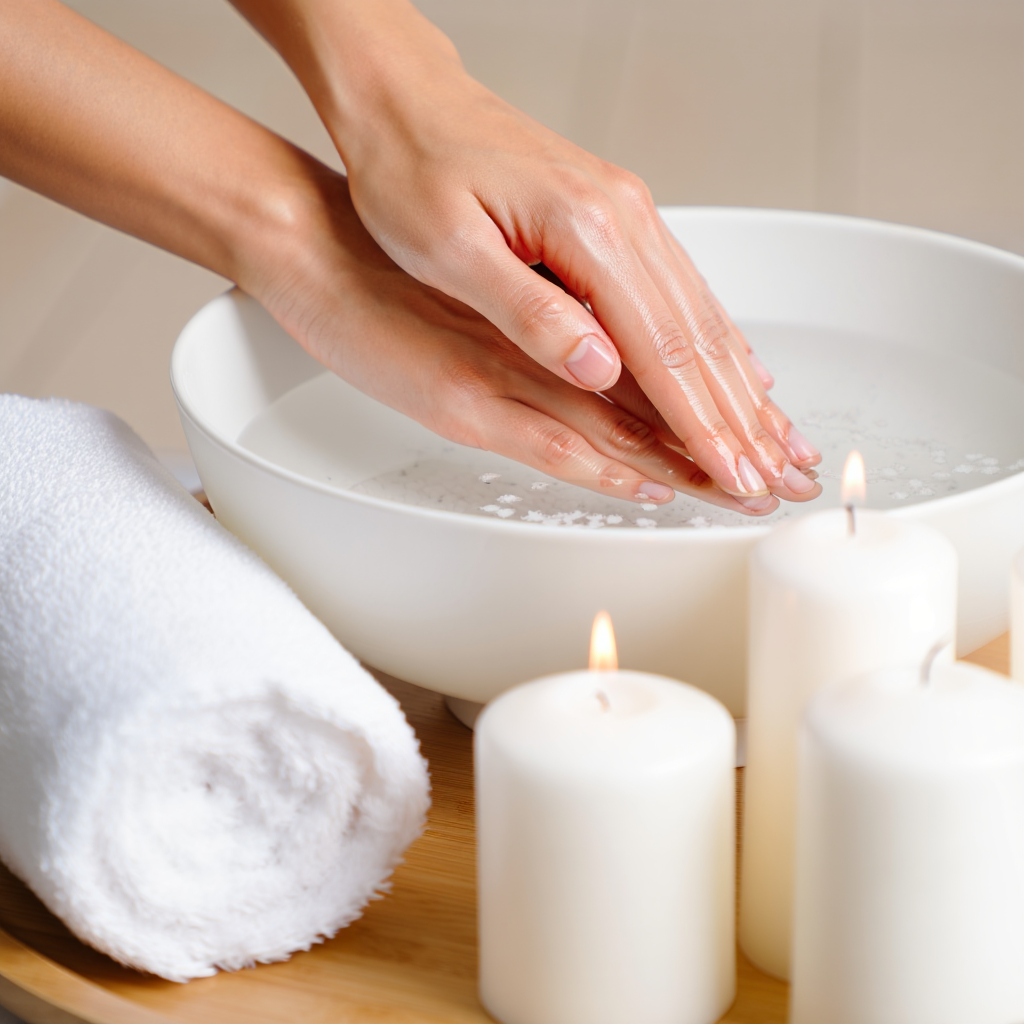
Softening the Cuticle: The Gentle Start
Never skip softening — trying to work with a dry cuticle can lead to injury. For proper home care, you can use:
- A warm saltwater soak (5–7 minutes)
- Cuticle remover gel
- Thermal water spray made for manicures
Pat the skin dry gently with a towel — don’t rub, as that can cause irritation.
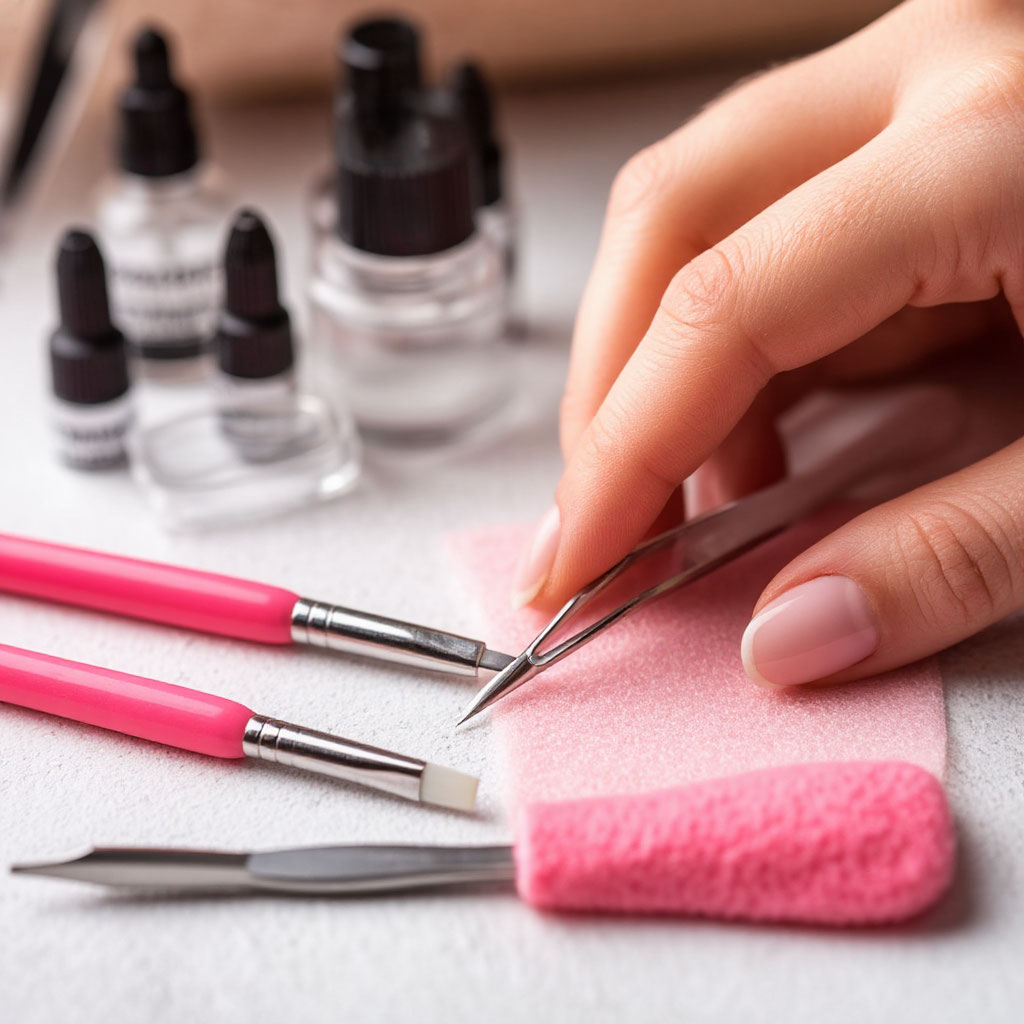
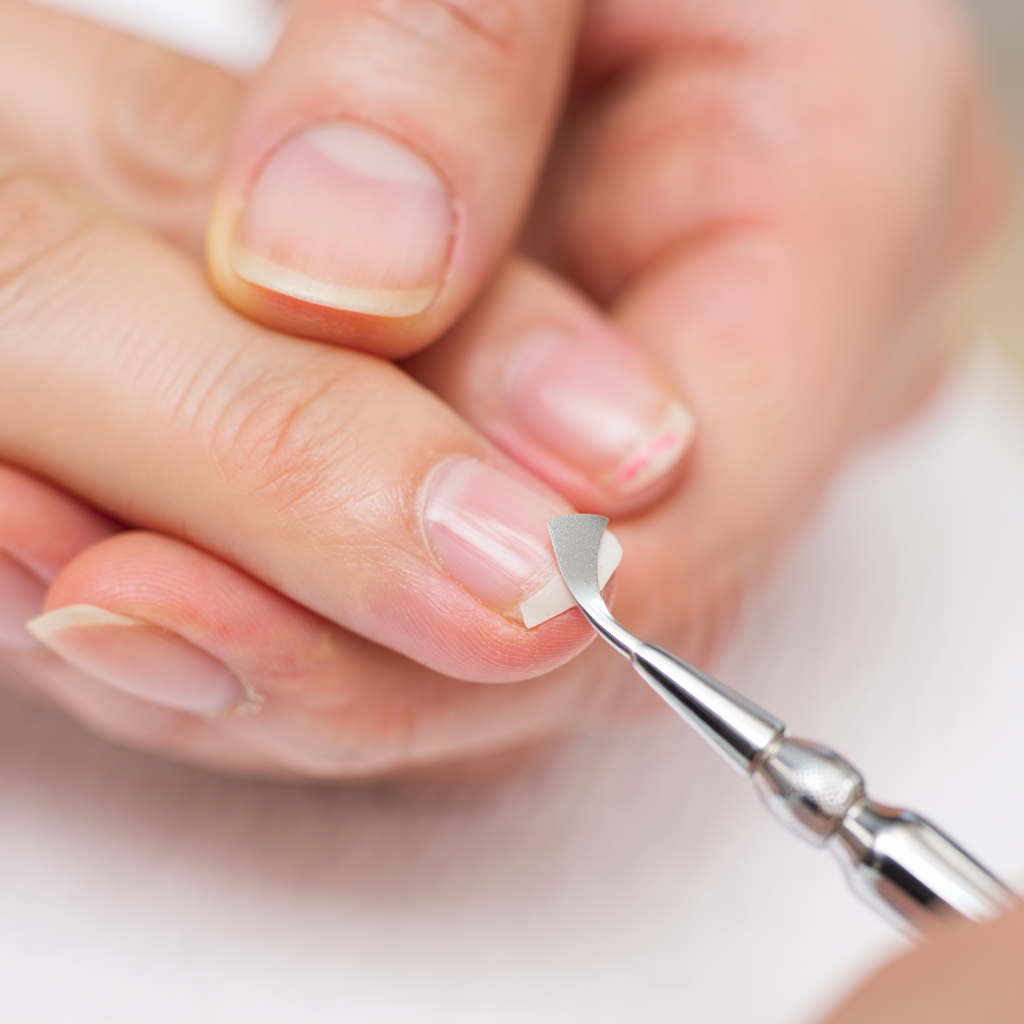
Pushing Back: Safety First
You’ll need the right tools:
- Orange wood stick or glass cuticle pusher
- Ceramic pusher
- Manicure nippers with a fine tip
Push gently from the base of the nail outward. Don’t press too hard — the goal here is to move the cuticle, not cut it. This helps maintain the natural barrier that protects your nails.
Final Cleanup: When and How to Trim
If there are visible rough cuticle edges after pushing:
- Use sharp nippers designed for fine skin
- Trim only dry, dead skin — never live tissue
- Hold your tool at a 45° angle
Complete cuticle removal is outdated. A modern manicure at home focuses on neatness, not over-cleaning.
Final Prep: The Base for a Long-Lasting Coating
After you’ve finished cuticle care, it’s time to prep for polish. Many rush straight into color, but the pros know this step determines how long your coating lasts.
Start by removing any residue from creams or oils. A nail cleanser works best, but rubbing alcohol is also effective. Lightly wipe each nail with a cotton pad, covering the surface and sidewalls.
Next, inspect your cuticle work. If there are any remaining rough spots, gently buff them with a soft file. Be careful not to thin the nail too much. Then, apply a nail primer or cleanser — this creates the perfect base for your coating to stick. Avoid touching your nails after this point.
Applying the Polish: Secrets to a Flawless Manicure at Home
This is where the magic happens. The moment when your well-prepped nails are transformed into polished perfection. But for a manicure at home to truly shine — and stay intact — technique is everything.
Prepping the Space: Create a Calm Setup
Before you pop the lid off your favorite shade, make sure your space is ready. Good lighting is essential for neat application. Sit by a window or use a white-light lamp. Have all your tools and materials within reach:
- Base coat
- Color polish
- Top coat
- Corrector pen
- Cotton swabs for touch-ups
Make sure the room is comfortable — too cold and polish won’t dry properly, too hot and bubbles may form. Your hands should be clean and dry. Avoid using hand cream before polishing, as it leaves a film that prevents proper coating.
Application Technique: Keep It Smooth
The key to an even coating lies in how much polish you use. Ideally, the brush should hold a tiny droplet that barely hangs on. Start at the nail base, leaving a 1–2 mm gap from the cuticle, and glide the brush toward the tip with three strokes: center, left, and right.
Be gentle near the cuticle — don’t crowd it. That tiny gap will disappear visually but help prevent lifting. Always seal the free edge by lightly brushing polish along the tip. This simple step adds days to your manicure at home.
Drying and Final Touch: The Finish Line
Let each layer dry before adding the next. The first coat should feel tacky to the touch, not wet — this usually takes 5–7 minutes for regular polish or 30 seconds under a LED lamp for gel.
Your top coat is the final step in the coating process. It adds shine, prevents chips, and locks in color. Once you’re done, avoid water for at least an hour. If you’re using gel polish, don’t forget to remove the sticky layer with a special cleanser.

Common Mistakes: How to Avoid Ruining Your Manicure at Home
Even with the best intentions, it’s easy to make small mistakes that sabotage your efforts. Here’s what to look out for — and how to avoid them.
Skipping Prep: The Invisible Saboteur
One major reason polish doesn’t last is poor prep. Skipping the nail cleanser step is a common mistake. Natural skin oils can form a barrier that stops coating from sticking. A quick wipe with alcohol solves this instantly. Also, avoid applying polish over cream or oil residue — it guarantees early peeling.
A rough or glossy nail surface also weakens polish adhesion. For proper home care, the ideal base is slightly matte and smooth. A soft buffer (240 grit) used gently in one direction can prep your nails without damaging them.
Poor Technique: Thick Layers & Rushed Timing
Thick polish layers take forever to dry and are more prone to smudging. Uneven application leads to lumps and bumps. It’s always better to apply two thin coats than one heavy one. And don’t forget that clean line near the cuticle — a small gap looks professional and lasts longer.
Skipping the edge-sealing step (brushing the polish across the tip) is another common error. It shortens the lifespan of your manicure at home by several days. And remember to let each coat dry properly before moving on — rushing causes smudging and uneven texture.
Not Taking Care Post-Manicure
Many people finish their nails and forget all about them. But the first 2–3 hours are crucial — this is when the structure of your coating sets. Avoid water, hand cream, or tight gloves. Even small things like pulling on jeans or using your phone can leave dents.
Constantly patching chipped polish adds bulk and makes your manicure look messy. Instead, plan to remove and redo your polish every 5–7 days, following your step-by-step routine.
Ignoring Your Unique Nail Needs
What works for others might not work for you. Thin nails don’t like aggressive buffing. If your nails peel easily, stay away from acetone-based products. Sensitive cuticles call for extra care and gentle tools.
A perfect manicure at home isn’t out of reach. As this step-by-step guide shows, it’s all about good prep, the right tools, and mindful technique.
Make it a routine. Over time, your home care sessions will feel like a relaxing ritual. You’ll pick up little tricks that work for your nails — and see real, lasting results. Every pro started as a beginner. Your early results are already something to be proud of.
Thin coats, capped edges, and patience during drying are your best friends — then keep tips sealed with top coat on day 2–3.
Download the brochure (PDF): Beauty Club — Perfect Manicure at Home